Welcome!

Welcome to my new site where I will be baking away and sharing my recipes and experiences with you all! I am very excited to get started and have been baking and making yummy desserts all day. I hope you all enjoy this blog as much as I will and do. Happy baking!

Friday, September 10, 2010

Apple Streusel Cheese Cake bars with Carmel topping


Last weekend I put my 4 day weekend to good use and decided to bake something delicious apple cheese cake bars with caramel topping yum yum! Here are the photos of my baking extravaganza as well as the instructions and ingredients...Hope you try it out and enjoy!


Yummm!
Ingredients
  1. 2 cups all-purpose flour
  2. 1/2 cup firmly packed brown sugar
  3. 1 cup butter, softened
  4. 2 (8-ounce) packages cream cheese, softened
  5. 1/2 cup plus 2 tablespoons sugar, divided
  6. 2 large eggs
  7. 1 teaspoon vanilla extract
  8. 3 Granny Smith apples, peeled, cored and finely chopped
  9. 1/2 teaspoon ground cinnamon
  10. 1/4 teaspoon ground nutmeg
  11. Streusel Topping – hand full of brown sugar & granulated sugar
  12. 1/2 cup caramel topping
Instructions
  1. Preheat oven to 350°F.
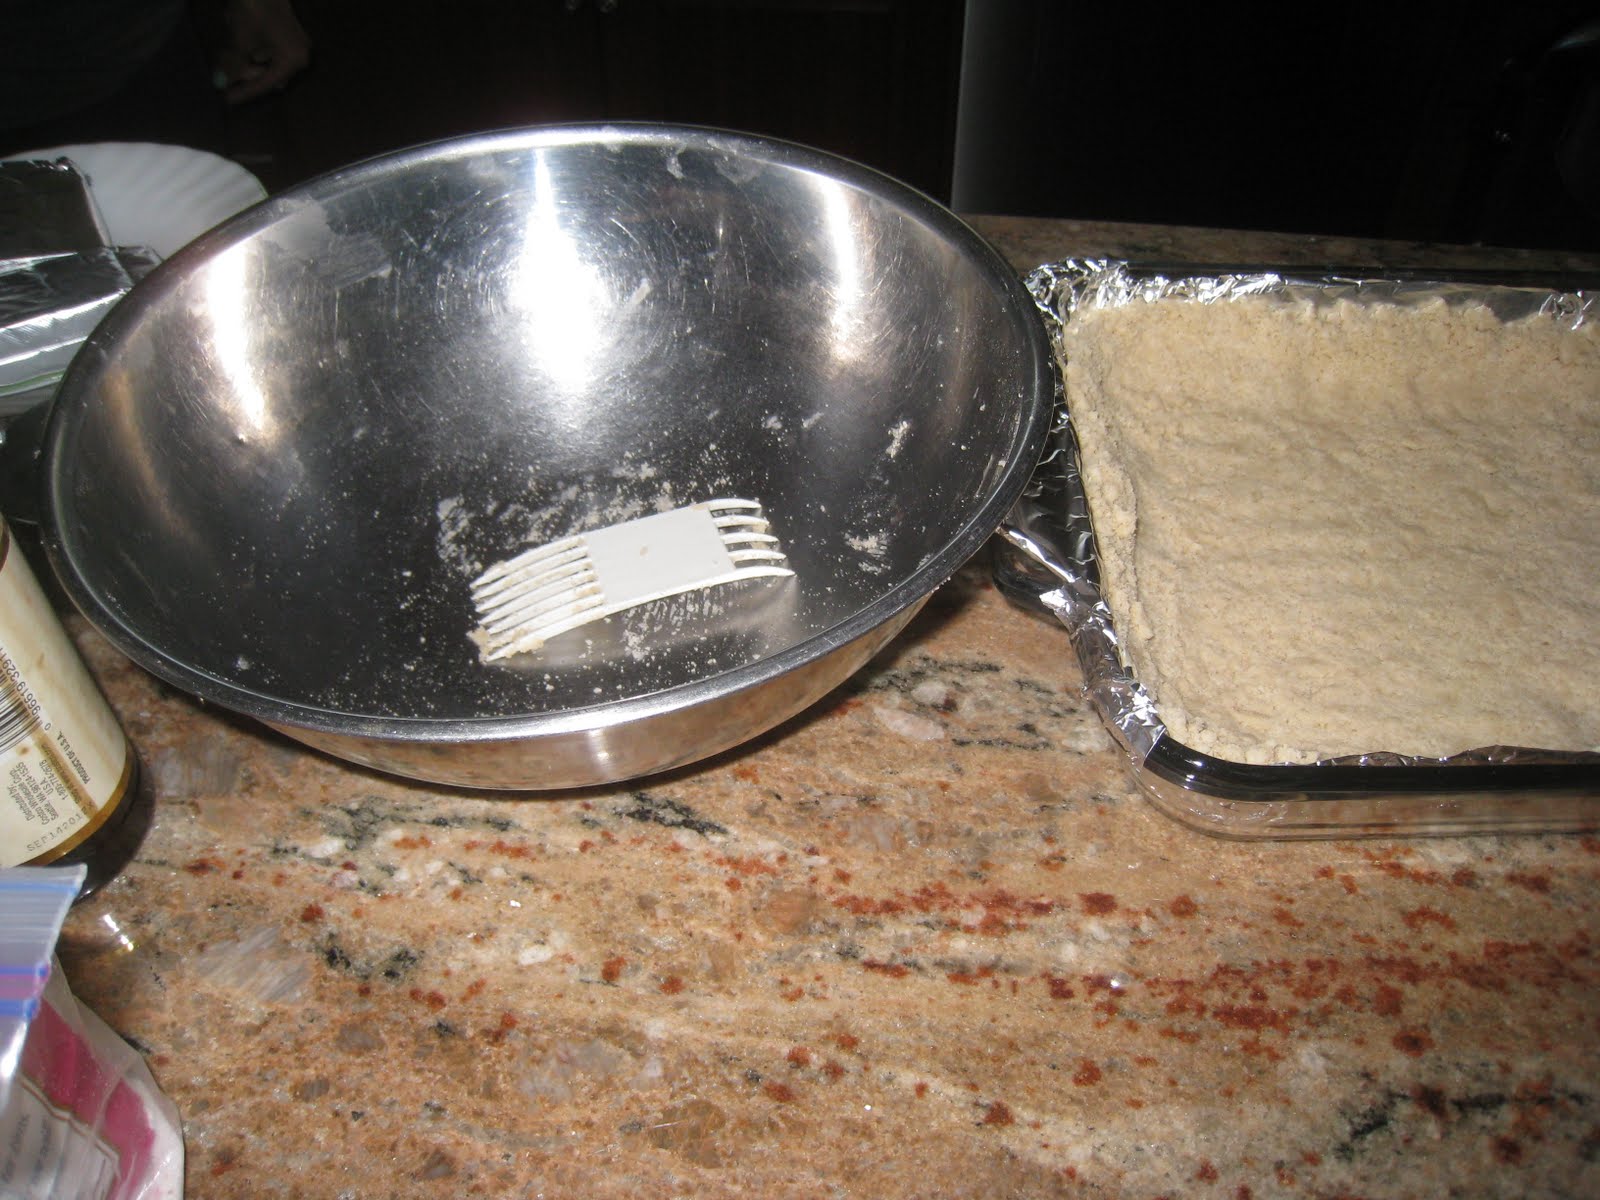
  2. In a medium bowl, combine flour and brown sugar. Cut in butter with a pastry blender until mixture is crumbly. Press evenly into a 13x9-inch baking pan lined with heavy-duty aluminum foil. Bake 15 minutes, or until lightly browned.
  3. In a large bowl, beat cream cheese with an electric mixer at medium speed until smooth. Beat in 1/2 cup sugar, eggs, and vanilla until smooth. Pour over warm crust.
  4. In a small bowl, stir together chopped apples, 2 tablespoons sugar, cinnamon, and nutmeg. Spoon evenly over cream cheese mixture. Sprinkle evenly with Streusel Topping (sugar and brown sugar, maybe a pinch of cinnamon too!). Bake 30 minutes, or until filling is set.Drizzle with caramel topping. Then refrigerate until cold (it will be easier to cut and serve!).

Wednesday, September 1, 2010

Much more to come!

Hey everyone! Look forward to lots of baking coming your way this weekend! I have started school again and haven't been able to keep up with both but every weekend I will definitely be posting new recipes and pictures! So excited to start baking during this four day weekend ahead, stay tuned!!
Kristen :)

Friday, August 20, 2010

Finished Cake Balls and Recipes


Finally finished the cake balls today...hooray!
Here are some notes I took on them and pictures of almost every step. (Except for the baking of a 13x9inch cake in the flavor of your choice! I chose Fun-Fetti)


After chilling the cake in the fridge, break it up into tiny crumbs gently with two forks.  

Then you add the cream cheese frosting and mix it in thoroughly to make the cake crumbs sticky...easier for rolling them into little balls!
Cream Cheese Frosting Recipe:
8 oz cream cheese, softened
1/4 cup butter, softened
1 cup confectioners sugar
1 tsp vanilla extract
mix & beat for 2-3 minutes 


Once the frosting is blended well enough you can start rolling little cake balls, about the size of a cookie dough ball, before it's been baked.


After rolling all of your cake balls, put them in the freezer for about an hour and then heat the chocolate or whatever you decided to use to coat them!


Today I used semi-sweet chocolate chips and microwaved them in intervals of 40 seconds and stirred until the chocolate was smooth and creamy. 


My first cake ball! After dipping into chocolate using two forks to move them through the chocolate, you can decorate with sprinkles or any other edible decorations of your choice!


The cake ball in the chocolate...


A few of my finished ones...some decorated with sprinkles 


 Yummy...


All done! After finishing them all up I put them into the freezer so the chocolate would harden and then they'll be ready to serve in no time!

A few side notes...
The number one thing I would suggest is only taking a few of the cake balls out of the freezer at a time to dip and decorate because I noticed that the longer the cake balls sat out, the less firm they got and the more crumby the dipping chocolate became. I think next time I will drizzle white chocolate over the dark to spice it up a bit...also you can buy little lolli pop sticks at Michael's so they are easier to dip and eat!
PS. I added the Banana Pudding Pie Recipe to the post from yesterday, check it out!

Happy Baking! :)

Day 1: Paula Deen's Banana Pudding Pie and Cake Balls

So today I was feeling quite inspired and hyper and when this happens I start-a-bakin'! I bought a holiday baking magazine during the holidays last year and kept telling myself I would bake every recipe in it and have yet to do so. I found the magazine while moving into a new place and thought what a great way to end the summer...starting a blog and sharing all of my goodies with you all! 
I made Paula Deen's yummy Banana Pudding Pie and also "cake balls" that are a new popular and easy way to make eating cake a little more...attractive?...for lack of a better word.
Here are the two fun and simple recipes: 

Banana Pudding Pie


Graham Cracker Crust  


Vanilla instant pudding mix, heavy whipping cream, confectioners sugar and sour cream filling

Thinly sliced bananas


Pie topped with the banana slices


Cool whip topping

oohh ahh...pretty...but forgot something...


...Nilla Wafer Garnish! Yummm...

I'll post pictures of the finished cake balls tomorrow and recipes!!...stay tuned! :)